Download and install the Hal E-Bank/Corporate program (client) by clicking here.
During the installation, select ‘Custom installation’, and only tick the options Program Files and E-Forms and Nexus Personal.
Very important:
- When installing Hal E-Bank/Corporate, make sure to install the same version as is installed on other workstations. All workstations hosting Hal E-Bank/Corporate clients must have the same version of the program for all Hal E-Bank/Corporate clients.
- If you run the Nexus Personal installation as a system administrator, you will first need to log into the administrator profile after computer reset in order to complete the installation of Nexus Personal (and then log into a user profile).
Run the client’s installer file IBM DB2 (which can be found on the file repository on your server; the file repository is normally on the same server as IBM DB2and is called Ebankfiles; the exact location is also given in the installation folder of the active Hal E-Bank/Corporate, namely in PersonalebankCommon.ini (normally at: C:\Program Files\Halcom\Corporate E-Bank\PersonalebankCommon.ini)) and click Next.

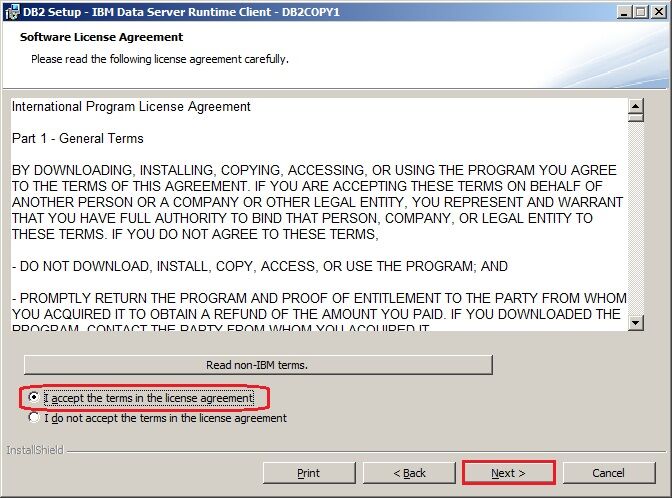
In the next step, specify that agree with the terms and conditions of the Licensing Agreement and confirm by clicking Next.
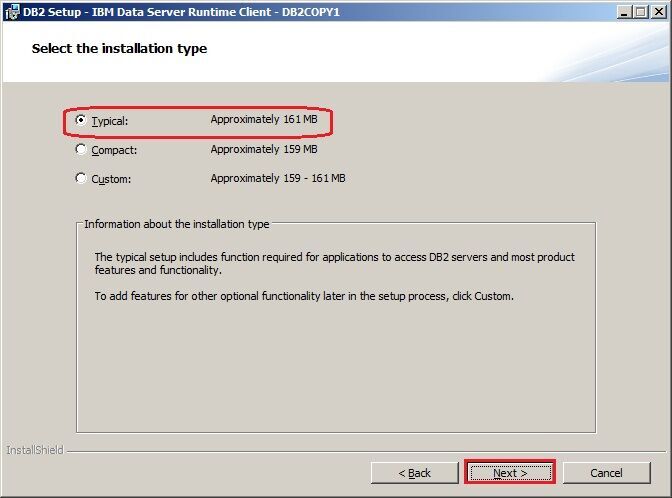
Select ‘Typical’ as the type of installation and confirm by clicking Next.
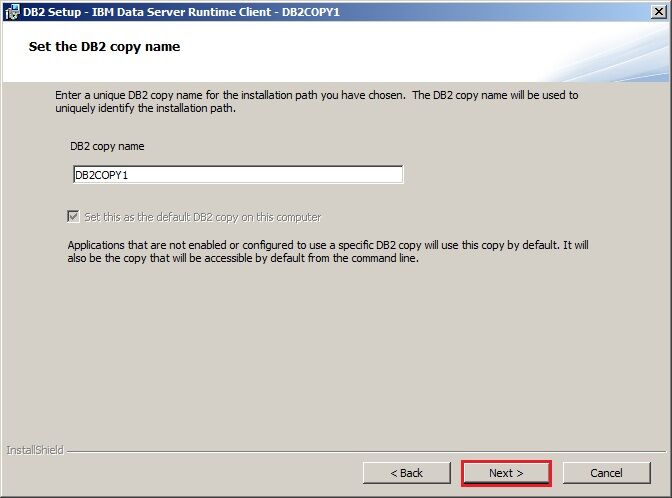
Confirm the default settings by clicking Next.
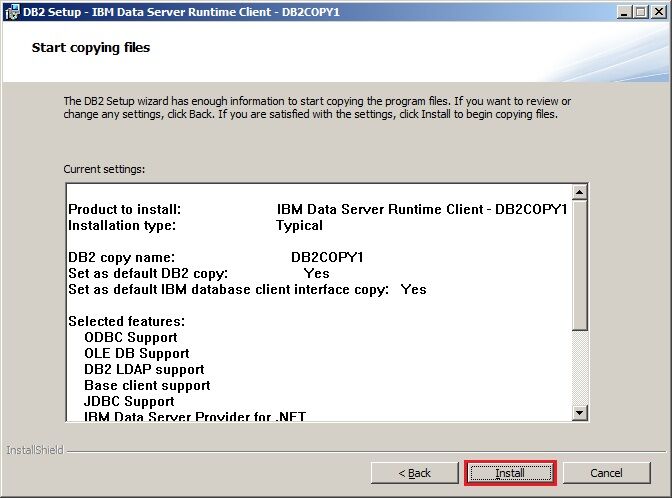
Start the installation by clicking the Install button.
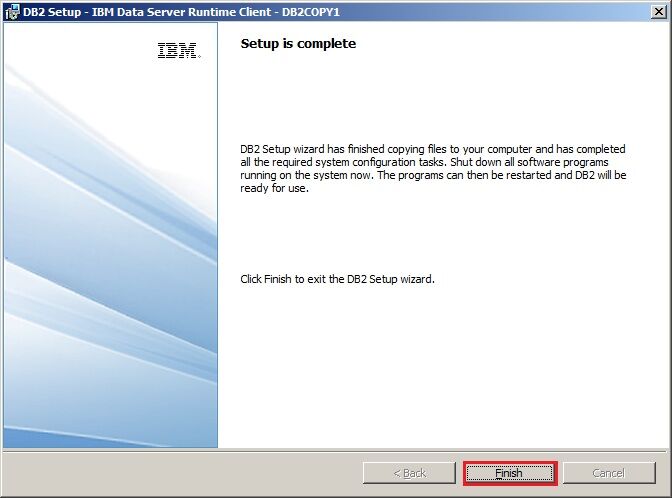
Complete the installation by clicking Finish.
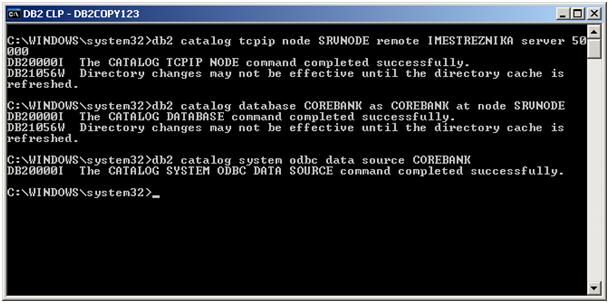
In the next step, copy ODBCCatalog.bat file (it can be found in the repository on your server) to the local computer and run it “As administrator”.
Result: