Before you start digitally signing a pdf document, you must adjust some of the settings described in the settings in Adobe Acrobat Reader. Please follow the instructions written here first.
Select “Tools” at the top of the document and then the pen image (highlighted in red).


On the document, use the left mouse button to mark the place to sign.

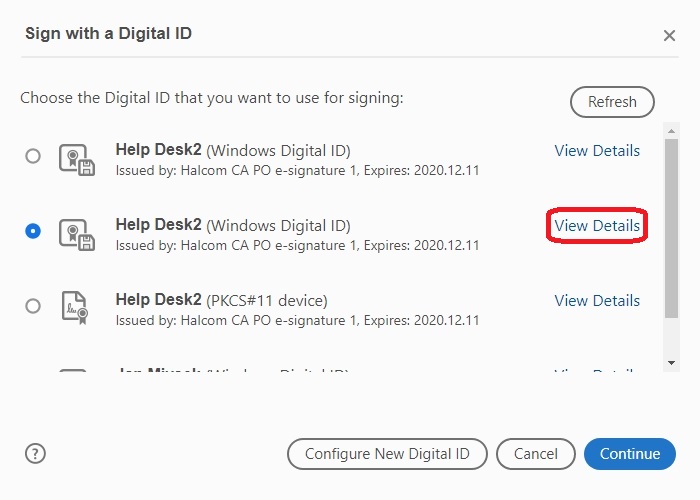
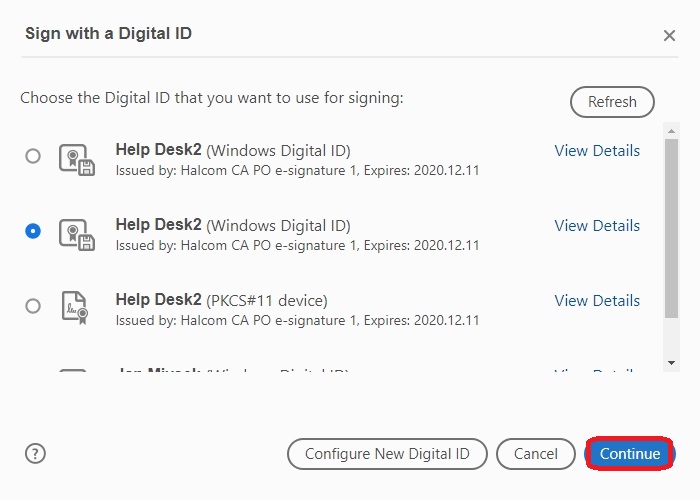
When you select the field where you want to add the signature, a window for selecting the digital certificate with which you want to sign the document opens.
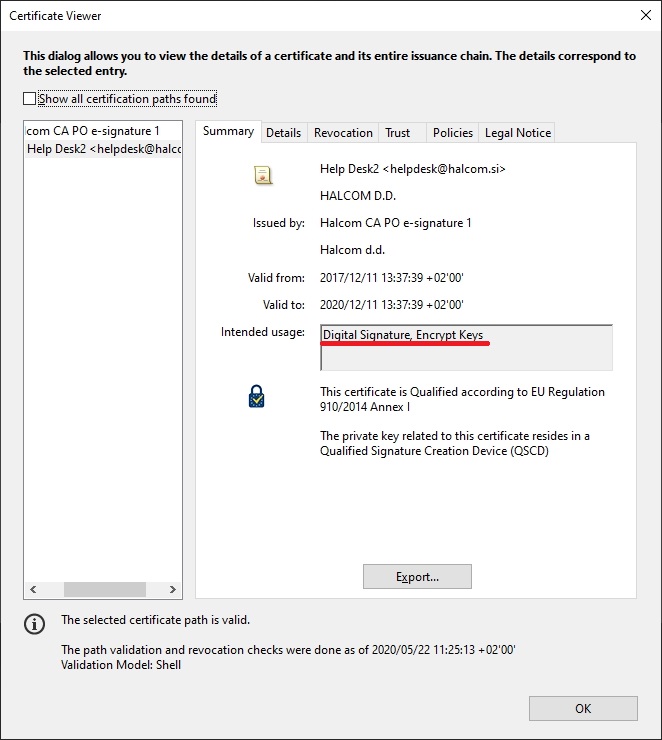
Select a valid digital certificate and click View Details
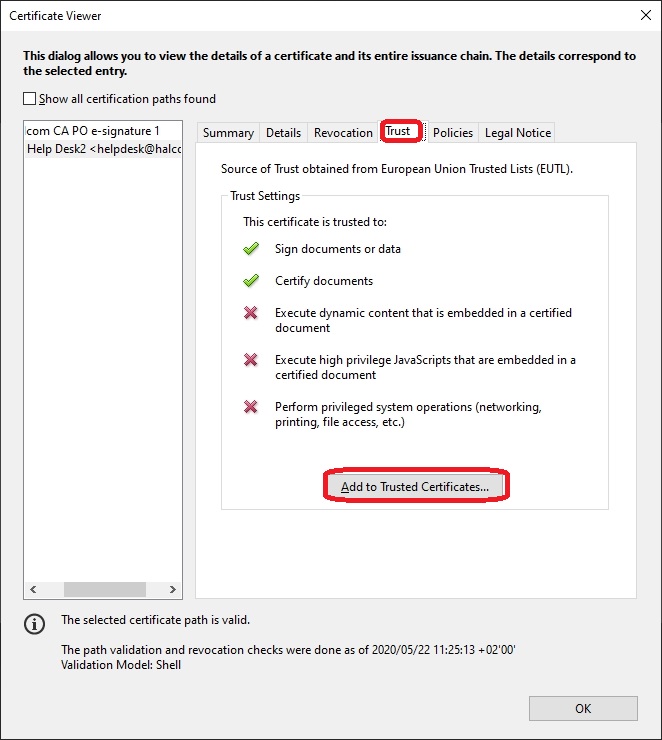
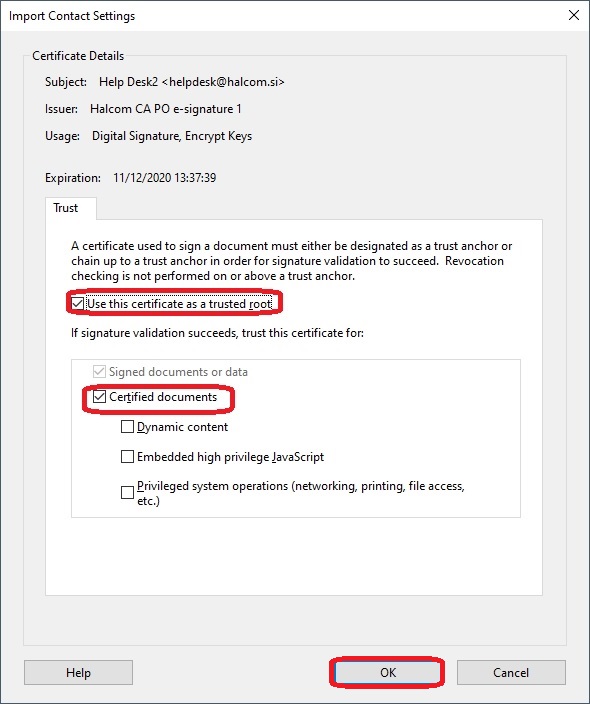
Digital Signature must be added among Trusted Certificates. Click the Trust tab
Click the Add to trusted certificates button
Check Use this certificate as a trusted root in certified documents and close the window by clicking OK
You can now proceed to sign by clicking Continue

Finish signing by clicking Sign
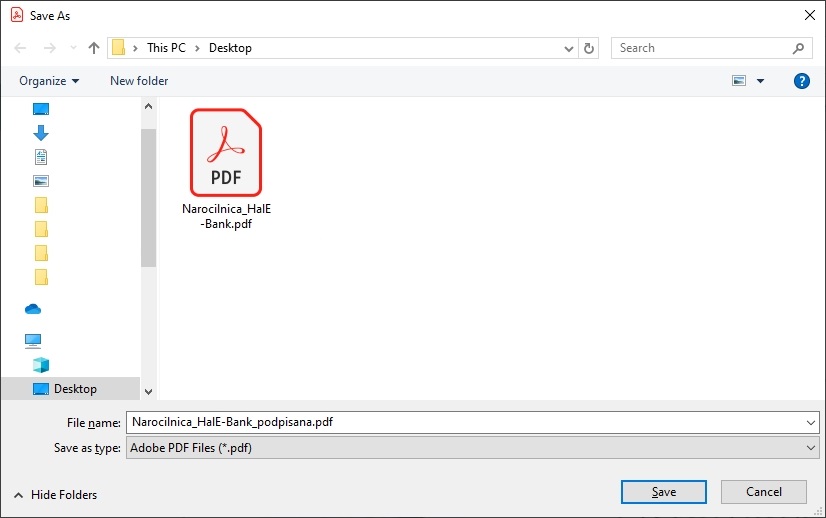
Select the storage location of the signed document
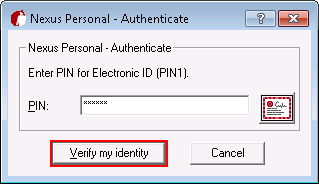
Enter the PIN of the digital certificate
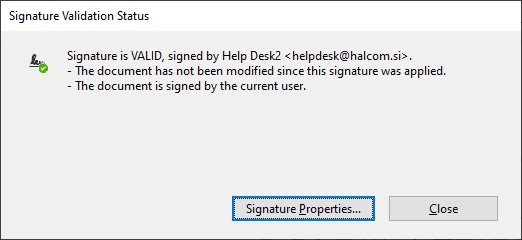
You can check the validity of the signature on the document by clicking on the signature. The image shows a properly signed document