In oredr to use your smart card or USB key after December 15, 2025, it is necessary to install the new Nexus Personal 5.17.0 software and Hal E-Bank OG version 26.
IMPORTANT: Our software works only on Microsoft operating systems Windows 10 or later, unfortunately not on the macOS operating system. The program works on a virtual device with the Windows operating system, however, we do not have any experience in establishing and functioning and therefore do not provide technical support.
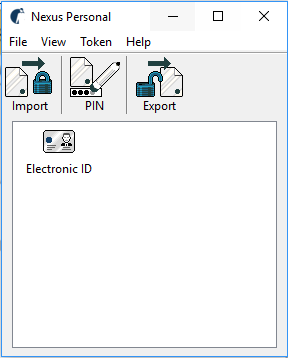
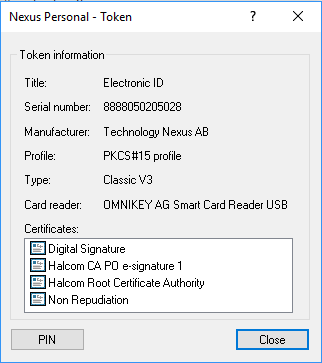
Visit https://www.halcom.com/sl_en/halcom-ca-en/upgrade/ and save the Nexus Personal Security Client program. Successful installation and communication with the smart card can be verified by inserting the smart card into the reader (or USB key into the computer) and opening the “Nexus Personal” program (blue dot with white silhouette which can be found bottom right by the date and time in hidden icons menu). If the installation is successful, the Electronic ID icon is shown in the dialogue. Double-click the icon and you will see two digital certificates (Digital Signature and Non Repudiation), as shown in the picture below.
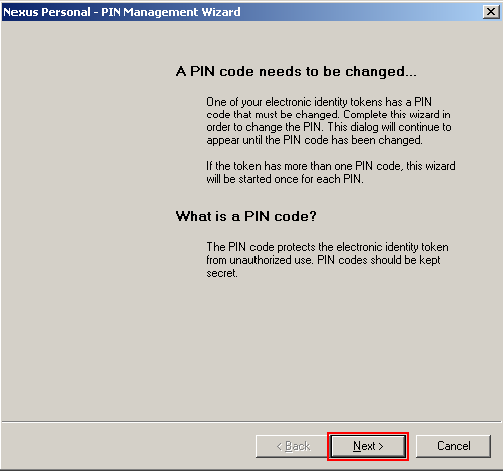
After successful installation of Nexus Personal the Nexus Personal – PIN Management Wizard dialogue is displayed. Click the Next button. PIN code (personal number) which was sent to your email needs to be changed prior to first use.
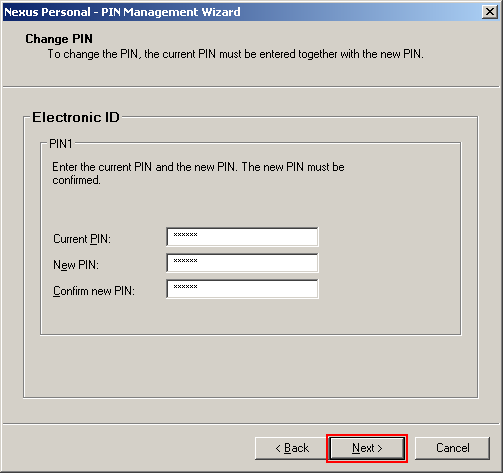
In the following dialogue set the new PIN code. You need to fill out three entry fields:
- In the Current PIN entry field enter the PIN code which you received on your email from Halcom CA.
- In the New PIN entry field enter the new PIN code.
IMPORTANT: The personal number must contain at least 6 and no more than 16 characters. - In the last Confirm New PIN entry field you need to confirm the new PIN code by entering the same number as you did in the previous field.
To continue click Next.
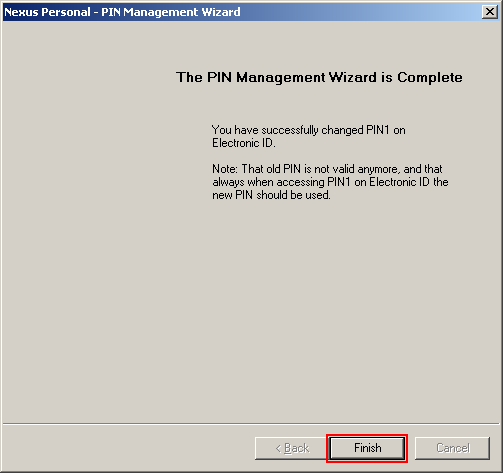
Complete the procedure for setting the new PIN code by clicking the Finish button.
The program Hal E-Bank and instructions for installation are available on our website Installing/Upgrading the Hal E-Bank/Personal | Halcom.com.
Instructions manuals for the program are available at Instructions and manuals | Halcom.com
NLB users can download all the software at https://www.nlb.si/proklik-en.